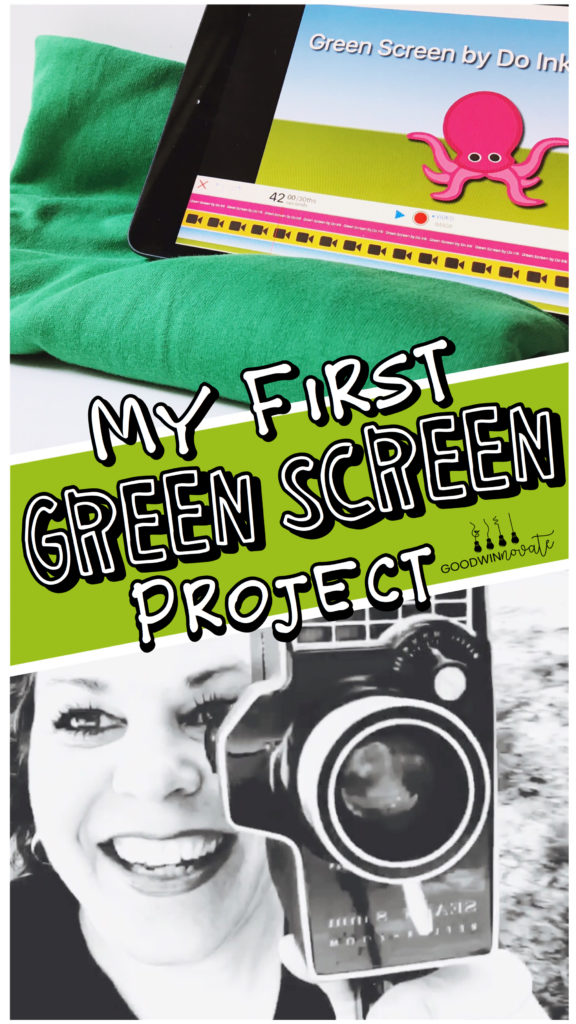
Now that you know everything you need to get started with Green Screen in my previous post here you are ready to make your first project. I am writing this post assuming you have little or no experience using green screen in your classroom. For your first green screen project I suggest starting out with something short and easy. In this video project your students will record in front of a green screen background and the final video will be under 1 minute long. You could even do this during your first week of school.
Things you will need:
Green Screen app or program
The Green Screen app by Doink, a green cloth or background, a picture of your classroom, and the free script template I have included in the post. (optional)
Background Photo
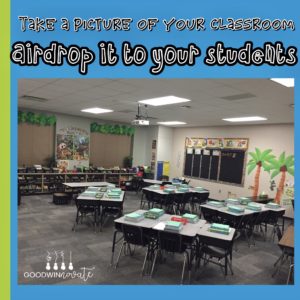
First you need to have a picture of your classroom for the background of your video. You can have older students take their own photo or for younger students this could even be your first lesson on using the iPad’s camera.
Give them tips about how to hold still and retake blurry photos until they get a nice clear photo of the classroom. If you have really young students or want to save time you can take a picture of your classroom ahead of time and airdrop it to your students or share it with them digitally through Google Drive, etc.
Script Template
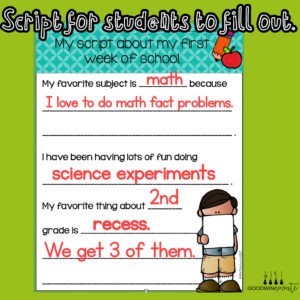
Before you film you will want your students to fill out the FREE short script or write their own script and practice what they are going to say in their video recording. I have the students practice several times before actually recording. They read their script out loud in the classroom to themselves and they can also practice with other students.
Each student listens to the other read their script. My script template is pretty primary because I teach second grade. You can print the script for your students to fill out or you could send it to your students to fill out digitally. If you are printing you can just print in black and white to save color ink. For older students you can have them write their own scripts on notebook paper and they may be a little longer.
Filming Tips
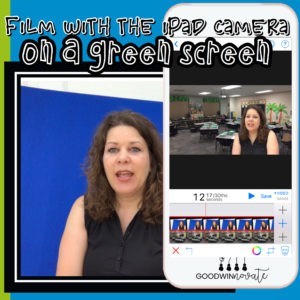
I recommend doing your filming with just the camera app on the iPad. This is easier when getting used to how the app works. It is also an easier way to do bigger projects you will want to do later in the year.
Blue Screen
In this project I filmed on a blue screen which also works just like the color green. It is a tri-fold science board. I am just setting on a chair in front of the screen be filmed. Actually with the Green Screen Doink app you can use any color in the color wheel in the photo above but I find that blue and green work the best and I use green most of the time. This blue screen is just what I happened to have handy at home.
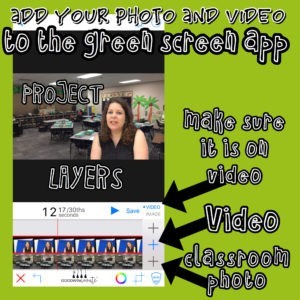
After you have your filming and your classroom photo on your iPad you are ready to add them to the Green Screen app. When you open your green screen app you will tap the plus to create a new project. Then you will see this screen shown in the picture above.
Bottom Layer Background
The important thing to remember is the bottom layer is always what you want in the background. Even if you are filming in the app you want the bottom layer to be your background photo or video. When you tap the plus on the bottom layer you will see some choices pop up. You want to pick the choice that matches what you are adding.
So if you are adding video you tap video. If you are adding a photo you tap photo. You will tap photo this time and add your classroom photo picture to this layer. Then go to the layer above it and tap the plus and tap the word video to add your video recording to that layer.
Preview Before Saving
Preview your project by tapping the blue play button. When the project is how you like it tap the blue word SAVE and it will say exporting your video. After it is done you will see some choices. I alway pick save to the camera roll. Then you can do all kinds of things with your project. In my class we add them to SeeSaw so parents can see their projects and I also use See Saw to show the videos to the rest of the class through our classroom projector.
Check out this short video above to see what the final project might look like. I am going to be doing a Facebook Live soon on this project so you can follow my Instagram, Facebook, or Twitter to see when the Live will be and then I will post a link to the live video here when it is over.
