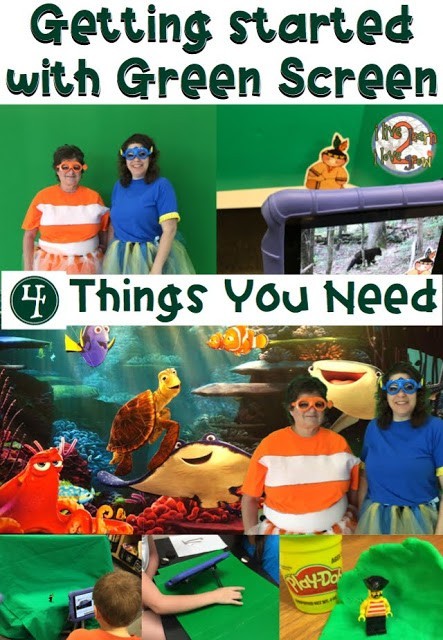
Green Screen can be used in any classroom. All you need is a few simple things to get started. This post includes everything you need to know about getting started using Green Screen on iPads in the classroom.
Here are the 4 THINGS YOU WILL NEED to get ready.
1. An App that Creates Green Screen Projects
To get started you will need an app to create your Green Screen project. Green Screen by Doink is one of easiest app for elementary students and is well worth the $2.99. Other paid apps are not great for elementary students. (I don’t receive any compensation from Doink for this post. I just absolutely love their app.) We Video is the only program that works with Chromebooks.
2. A Green Background
Cloth
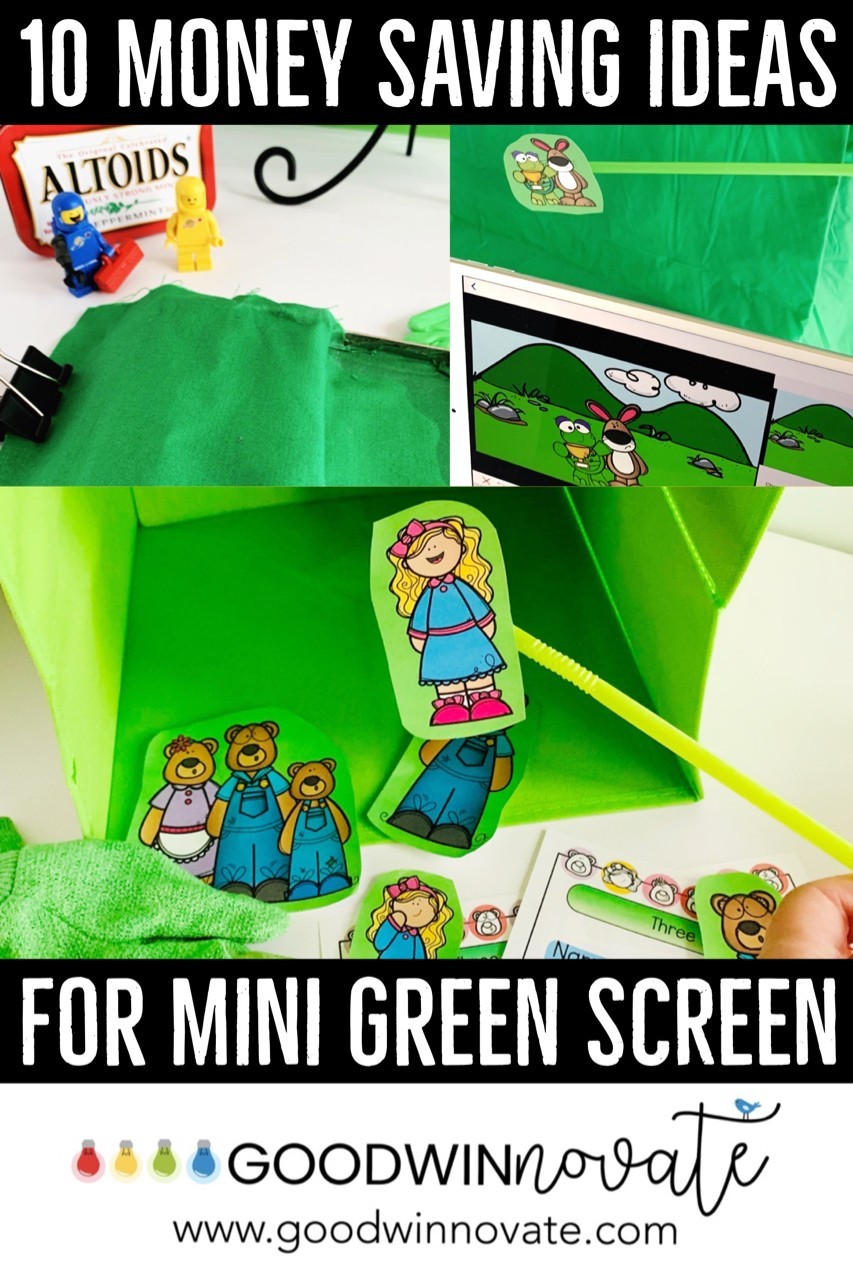
A green background can be created out of anything from a large piece of green fabric to a small piece of cardboard painted green. An actual green screen cloth that is around $20.00 (link is similar to the one we have) is nice to put up and fold away and store easily. (This is pictured in the bottom left draped over a table and stool.) It is great to hang up behind students to film 2 or 3 at a time. Hang it from your magnetic whiteboard with strong magnets. I bought mine at a local ACE Hardware store but they are similar to the link posted. Place the magnets on top of the cloth so it holds up the fabric on the whiteboard. This green cloth holds up really well and is still like new.
Felt
Some people use large pieces of felt fabric from fabric stores because it doesn’t wrinkle as much. Green bulletin board paper is another thing that can be used. Green plastic table cloths work well and are a very inexpensive option.
Science Boards
Green tri-fold science boards are nice to use because they are easy to store since they fold up flat. (shown in top right corner)
Painted Pizza Boxes
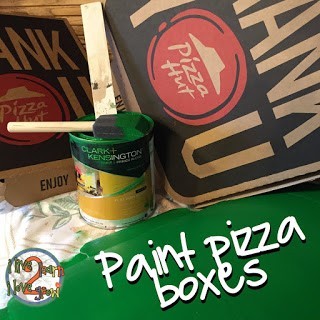
Painted pizza boxes that donated by a local pizza place work well for filming smaller objects. Pizza Hut was very willing to donate some to our classroom. Luscious Green paint by Clark and Kensington is a perfect color to use. There are other colors that work well too. Test out the color to the paint store with the Doink app that can be loaded right to your iphone and tried out on the paint strips to find a color to use.
Green Playdough
You can even use green playdough. Get creative and look around for things you already have that are green. Actually with the Doink App you can use any color as your background color but I have found that the colors green and blue are the best colors to use. Check out my facebook live here where I show the backgrounds we use in my classroom.
3. An Idea
This is probably the most important part of your project. What do you want to make for your green screen project? Do you want to have a little puppet show, explain a math problem, travel to a place around the world, or recite a poem. The ideas are endless. When you are thinking of your ideas you will want to think of what you will have for your background photo or video. Check out the video of students reciting a poem about books and they just use a photo of books for the background. Here is another simple project of students explaining a math problem and they used a picture with numbers in the background. Math Problem Explanation Green Screen, (number photo credit) A great place to get pictures to use in your projects is Photos for Class or Picts 4 Learning. Another way to get background video or photos is to film or take your own. In this video about Force students filmed their own video footage for the background and then told the information they learned about force in the layer on top of it.
4. Stand or Tripod (optional)
I hope you have everything you need to get started using iPads and I will share how to make your first Green Screen Project in my next blog post.
*This post contains some affiliate amazon links to products.




One Response
Thank you!! Helpful!