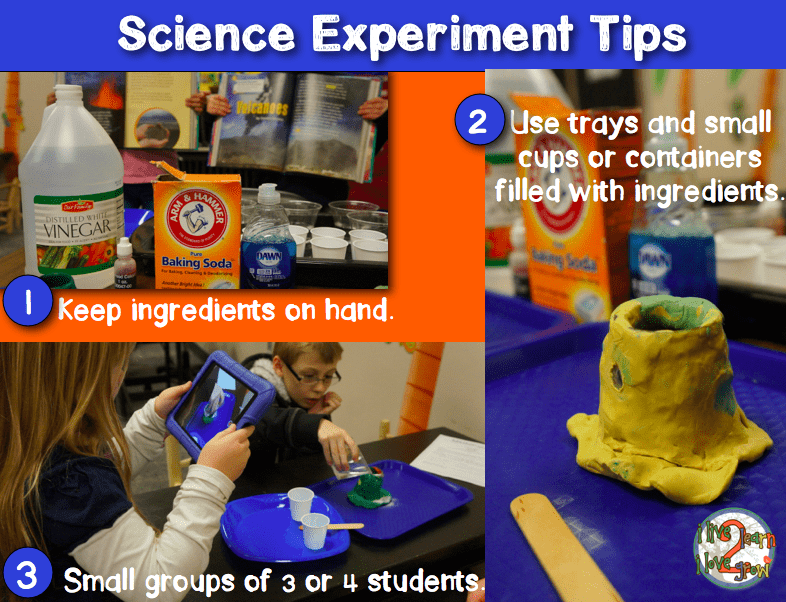
Baby it’s cold outside, but HOT, HOT, HOT in here with a volcano experiment!! I’m gonna share some simple tips I’ve learned doing Science Experiments over the years. I’ve been doing science experiments with my students for years. Sometimes I do a demonstration experiment and other times the students get to do the experiment. The experiments students enjoy best are those they get to do themselves. The Volcano Experiment is always one of my students favorites. We do this experiments to go along with a story in our Reading Series called Volcanoes. (If you look closely you can see some students holding the book in the background of picture one.)
1. Keep your ingredients on hand. Most of the experiments we do have ingredients that last quite a while so I always have them on hand. I usually pick up the ingredients I need at the beginning of every school year so that I have enough for the whole year. (In this volcano experiment the volcanoes are made with clay shaped around a small jar and stored in a bag so I can just pull them out to use each year. It saves time to have these already made. The clay dries out nicely if left out overnight.)
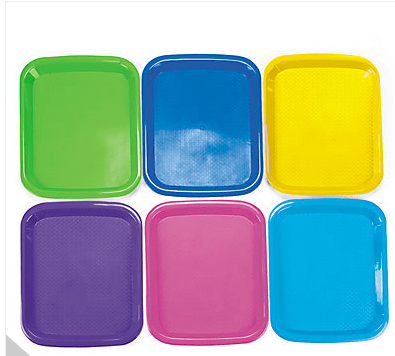
2. Science trays are a must. I have some trays that came with our science adoption. I also bought this set many years ago from Oriental Trading. They are nice quality and have lasted for years. It has been one of my best purchases for the classroom. I get all ingredients measured into small cups on the tray so that students can do the experiment quickly and with ease. I can do this the night before for some experiments or when the students are at recess.
3. Put the students into groups of 3 or 4. This works best for getting along. Kids can get up close and personal to the experiment. All students can participate in it because the groups are small.
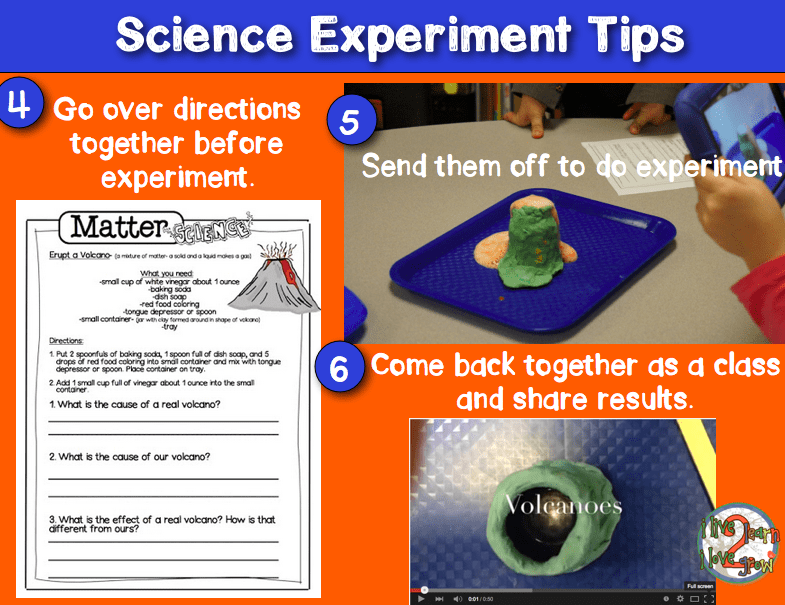
4. Type instructions and go over them before the experiment. Students can also take these directions home to do the experiment again. We read and go over these directions as a class. You can get our experiment directions paper here.
5. Do the experiment. Students get to have FUN, FUN, FUN!!! I walk around and monitor, take photos, etc.
6. Share the results. I call the class back together and we talk about results as a class and fill out our recording sheet.
OPTIONAL: I have one student in the group video the experiment and then the group can put together a movie of the experiment with the iMovie app. This video was one of my favorites that my students made this year. It was fun to see them working so hard to put it together and I love how it turned out.
